Skip to content
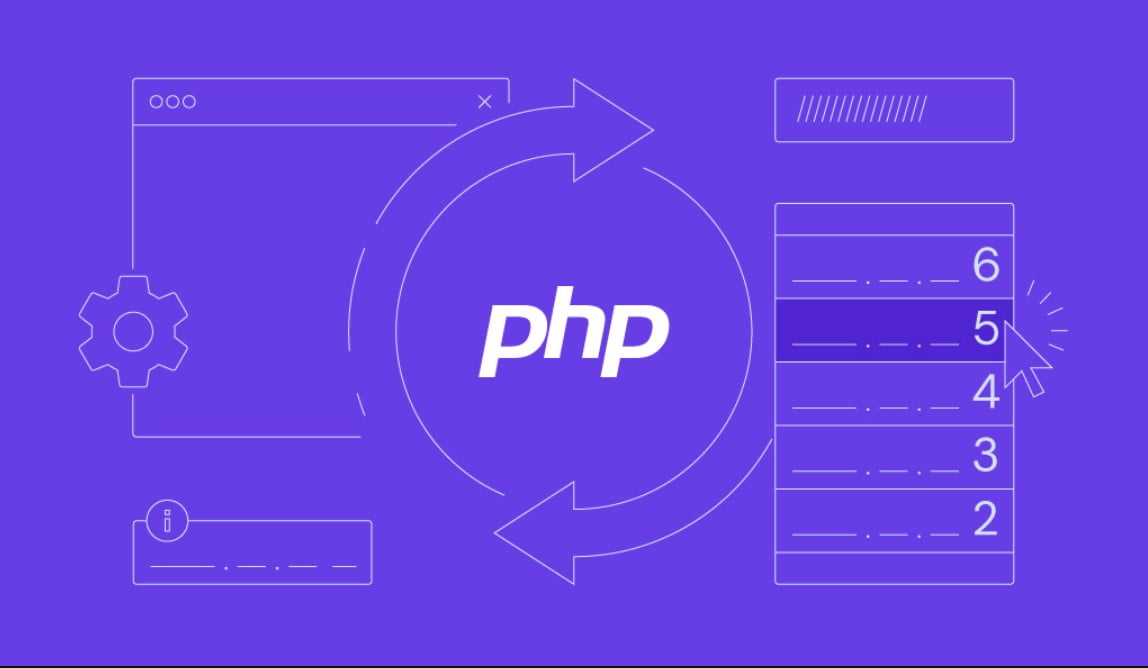
In today’s fast-paced digital landscape, website performance is paramount. Users expect seamless experiences, and any hiccups can lead to higher bounce rates and reduced conversions. One crucial element that often goes overlooked is the compatibility of plugins with the PHP version running on your server. In this article, we’ll explore the importance of testing your plugins for PHP version compatibility and how it can significantly impact your website’s performance.
The Significance of PHP Version Compatibility
What is PHP?
Before delving into the nitty-gritty of compatibility testing, let’s quickly recap what PHP is. PHP, which stands for Hypertext Preprocessor, is a server-side scripting language commonly used for web development. It powers a significant portion of the internet, including popular platforms like WordPress, Joomla, and Drupal.
Why Compatibility Matters
PHP is continually evolving, with new versions being released regularly. These updates not only bring performance improvements but also fix security vulnerabilities. Using an outdated PHP version can leave your website exposed to potential threats and compromise its overall performance.
Compatibility matters because plugins, which are essential for adding functionality to your website, need to work seamlessly with the PHP version your server is running. When plugins are not optimized for the PHP version you’re using, you may encounter issues such as:
- Performance Bottlenecks: Incompatible plugins can slow down your website, leading to longer loading times and frustrated visitors.
- Security Risks: Outdated plugins may have unpatched vulnerabilities, making your site an attractive target for hackers.
- Functionality Breakdown: Some plugins may not function correctly or may crash altogether, disrupting the user experience.
How to Test for PHP Version Compatibility
Now that you understand the importance of PHP version compatibility, let’s explore how to test your plugins effectively.
- Check Plugin Documentation: Start by reviewing the documentation of each plugin you use. Most reputable developers will specify the PHP versions their plugins are compatible with.
- Use Compatibility Checkers: There are several plugins available, such as “PHP Compatibility Checker,” that can scan your website and provide a compatibility report. These tools can quickly highlight any plugins that need attention.
- Update or Replace Incompatible Plugins: If you discover that some of your plugins are not compatible with your current PHP version, you have two options: update the plugins if a new version is available, or replace them with alternative plugins that are PHP-compatible.
The Benefits of PHP Compatibility Testing
By regularly testing your plugins for PHP version compatibility, you can reap several benefits:
- Improved Website Performance: Your website will run smoothly, providing a better user experience and potentially boosting your SEO ranking.
- Enhanced Security: Mitigate the risk of security breaches by keeping your PHP version up to date and using only compatible plugins.
- Stability and Reliability: Minimize the chances of your website crashing or malfunctioning due to plugin conflicts.
- Future-Proofing: Ensure that your website remains compatible with upcoming PHP updates, reducing the need for emergency fixes.
Manual compatibility testing
Performing compatibility testing manually involves the process of establishing a WordPress environment tailored to the specific PHP version under consideration, and then conducting tests on your plugin within that environment.
There are various methods to set up this customized environment, but the most frequently employed approach is utilizing a local development environment that offers the flexibility to switch between different PHP versions. Popular options include tools like Mamp, Laragon, LocalWP, and DevKinsta.
For the purposes of this illustrative example, we will focus on conducting tests with PHP 8.0.
To ensure that you are indeed working within the correct PHP version, a simple verification method involves creating an “info.php” file in the root directory of your WordPress installation and incorporating the following code:
<?php
phpinfo();
Afterward, open your web browser and visit the “info.php” file, where you will find the displayed PHP version.
Once you have successfully configured your testing environment, the next step is to activate WordPress debugging.
To accomplish this, access the “wp-config.php” file and make modifications to the line that specifies the WP_DEBUG constant, changing its value to “true.”
define( 'WP_DEBUG', true );In addition, include the WP_DEBUG_DISPLAY constant and set it to “false.” Also, introduce the WP_DEBUG_LOG constant and set it to “true.” These adjustments ensure that errors will be logged to a “debug.log” file located in the “wp-content” directory.
define( 'WP_DEBUG_DISPLAY', false );
define( 'WP_DEBUG_LOG', true );
Next, test your plugin by refreshing the page. Observe that the shortcode functionality becomes disrupted.
In conclusion, testing your plugins for PHP version compatibility is a critical task that should not be underestimated. It’s an essential part of maintaining a high-performing, secure, and user-friendly website. By following the steps outlined in this article, you can ensure that your website operates at its best, delivering a seamless experience to your visitors. Remember, in the world of web development, compatibility is key.